
I didn’t grow up eating Earl Grey desserts. I drank Earl Grey when I wanted to feel like a functional adult with my life together—even when I absolutely wasn’t. One quiet afternoon, tea in hand, dessert craving creeping in, I thought: Why does Earl Grey only get tea-time respect? That question sent me down a rabbit hole of testing, tweaking, and a couple of very sad failed experiments.
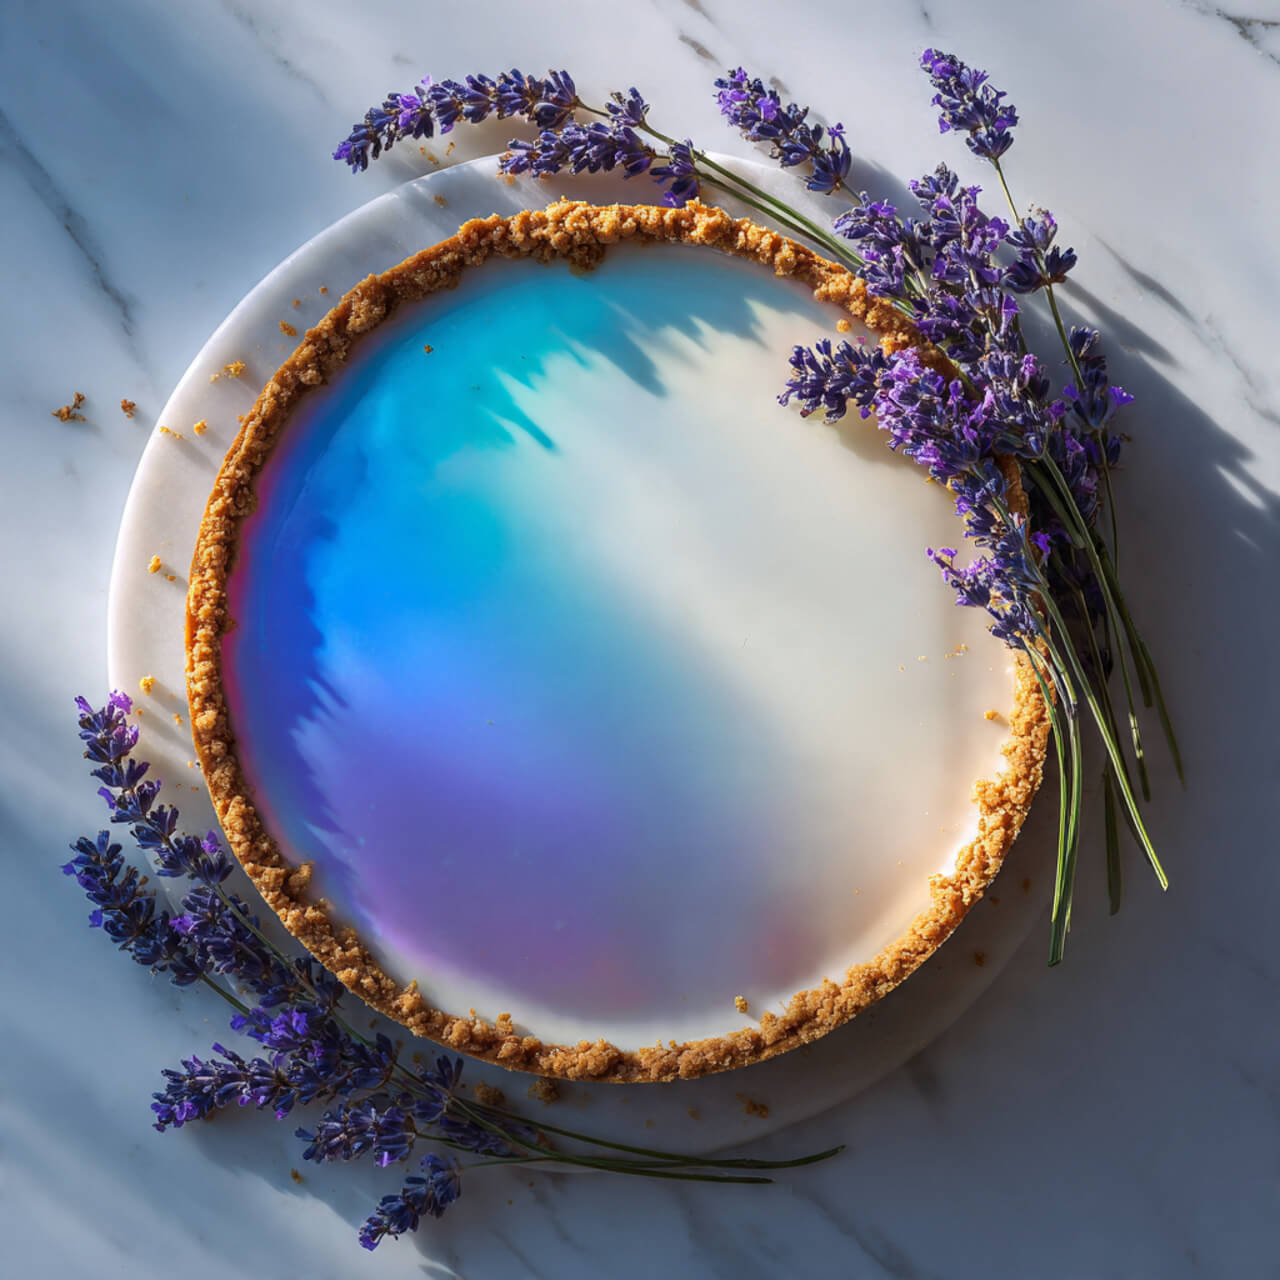
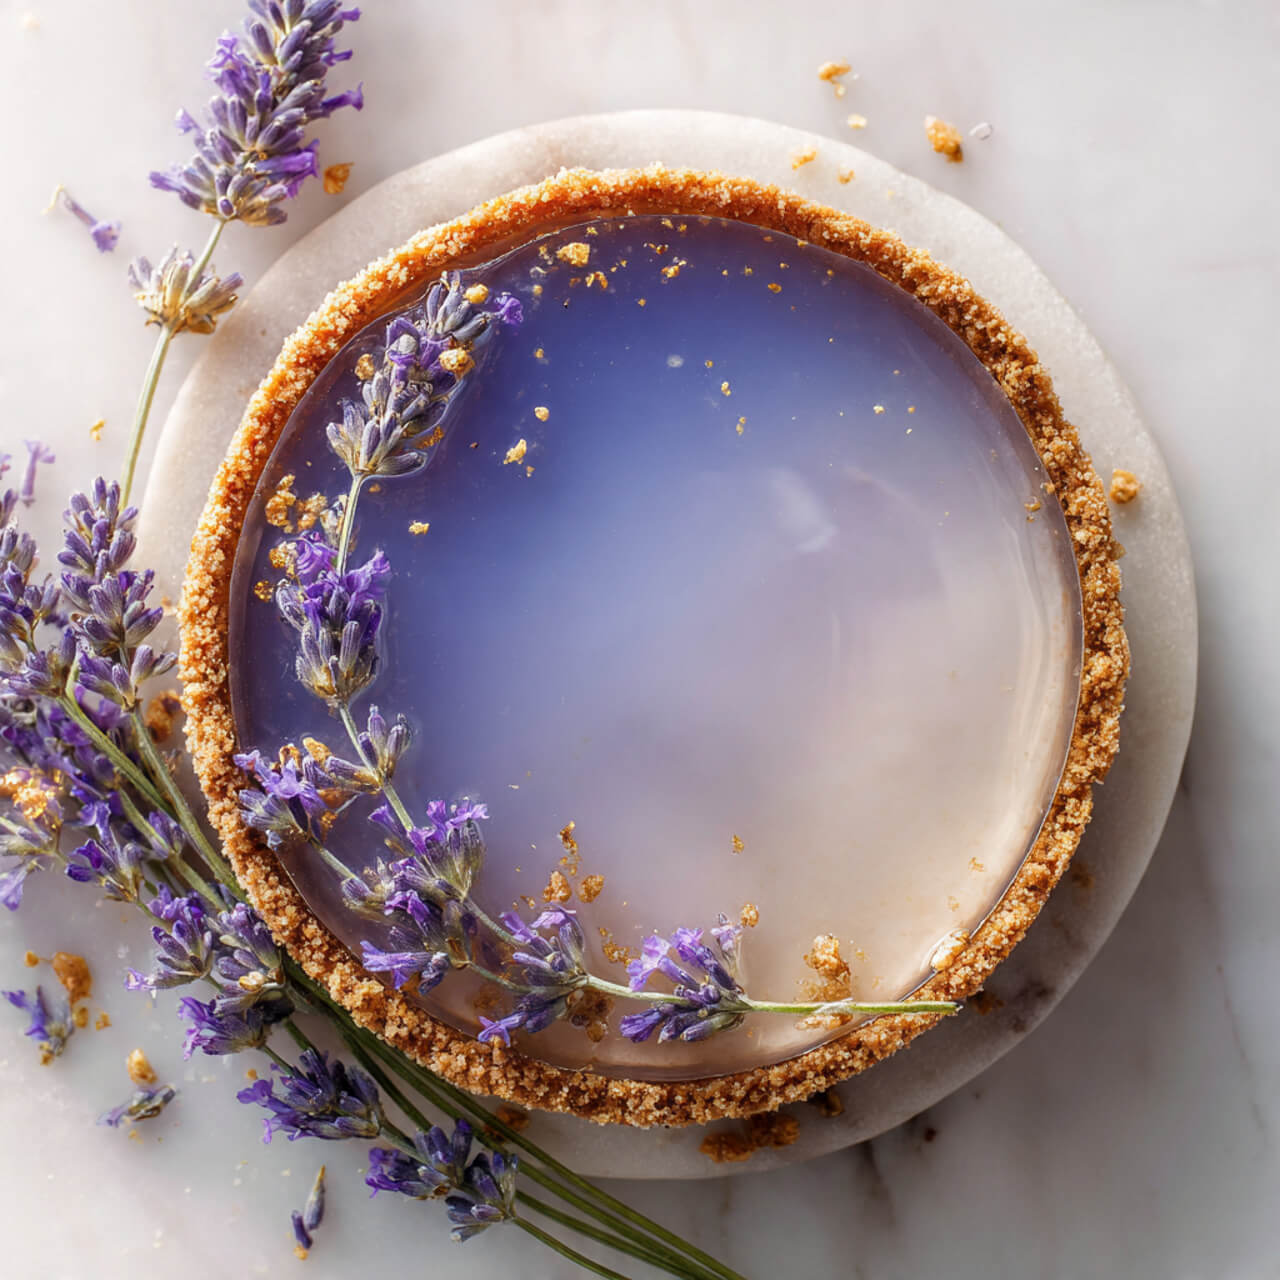
Then this no-bake Earl Grey cheesecake happened. And wow. Creamy, lightly floral, gently citrusy, and ridiculously comforting without being heavy. No oven. No stress. No cracked tops or dramatic baking disasters. Just chill, slice, and enjoy.
If you love desserts that feel fancy but secretly require minimal effort, you’re in the right place. Let me walk you through exactly how I make this, why it works, and how you can absolutely pull it off—even if baking and you aren’t exactly best friends.
Why No-Bake Earl Grey Desserts Just Work
Earl Grey has this subtle confidence. It doesn’t scream flavor; it whispers it. The bergamot brings citrusy brightness without acidity, and that makes it perfect for creamy, no-bake desserts.
Here’s why Earl Grey shines in no-bake recipes:
- It infuses flavor without overpowering
- It pairs beautifully with cream cheese and vanilla
- It tastes “grown-up” without being boring
- It feels fancy while staying approachable
Ever notice how baked desserts sometimes mute delicate flavors? No-bake desserts keep them alive. IMO, that’s the secret sauce.
My Earl Grey Experiment Phase (AKA What Not to Do)
Let me save you some trouble. I’ve:
- Over-steeped the tea (hello bitterness)
- Under-infused the cream (tasted like plain cheesecake… rude)
- Used low-quality tea (big mistake)
Good Earl Grey matters. Period. You don’t need luxury pricing, but you need real bergamot flavor—not dusty tea vibes.
Earl Grey Tea I Actually Recommend
I consistently use Twinings Earl Grey Black Tea Bags
https://amzn.to/3LBhlQK
Reliable flavor, balanced citrus, and zero bitterness when steeped correctly. I’ve tried fancier ones. I keep coming back to this.
The Dessert We’re Making (And Why It’s a Crowd Favorite)
This recipe lands somewhere between a cheesecake and a cloud. Light but rich. Sweet but not sugary. It works for:
- Dinner parties
- Brunch spreads
- Afternoon tea moments
- “I just need something cozy tonight” moods
And yes, people will ask where you bought it.

Ingredients You’ll Need (Simple but Intentional)
For the Crust
- 1 ½ cups graham cracker crumbs
- 6 tbsp unsalted butter, melted
- 2 tbsp sugar
- Pinch of salt
For the Earl Grey Filling
- 1 cup heavy cream
- 4 Earl Grey tea bags
- 16 oz cream cheese, room temperature
- ¾ cup powdered sugar
- 1 tsp vanilla extract
- 1 tbsp lemon juice
- 1 tbsp gelatin powder
- 3 tbsp warm water
Tools That Make Life Easier (Not Mandatory, Just Nice)
I’ve made this with basic tools, but these help:
- KitchenAid Hand Mixer
https://amzn.to/3NJOxpI
Strong enough for cream cheese, light enough for whipped cream. - Springform Pan (9-inch)
https://amzn.to/49UrwsW
Clean slices matter. This pan saves the day.
Step-by-Step: How I Make No-Bake Earl Grey Cheesecake
Step 1: Infuse the Cream (Flavor Starts Here)
Heat the heavy cream until warm—not boiling. Drop in the tea bags and let them steep for 15 minutes. Press gently, remove bags, and cool completely.
Rushing this step leads to weak flavor. Ask me how I know :/
Step 2: Build the Crust
Mix graham crumbs, melted butter, sugar, and salt. Press firmly into your pan.
Pop it in the fridge for 20 minutes. Cold crust = better structure.
Step 3: Prepare the Gelatin
Sprinkle gelatin over warm water. Let it bloom for 5 minutes, then stir until smooth.
This step keeps the cheesecake sliceable without baking. It’s not optional.
Step 4: Make the Filling
Beat cream cheese until smooth. Add powdered sugar, vanilla, lemon juice, and infused cream.
Pour in gelatin while mixing. Blend until silky. Taste it. Smile.
Step 5: Chill (The Hardest Part)
Pour filling over crust. Smooth the top. Chill for at least 6 hours, overnight if possible.
Good things come to those who wait. Cheesecake especially.
Tips I Learned the Hard Way
- Room-temperature cream cheese matters
- Don’t over-steep the tea
- Use powdered sugar, not granulated
- Chill longer than you think
- Wipe the knife between slices for clean cuts
Ever rushed a dessert and regretted it? Yeah. Don’t do that here.
Flavor Variations (Because Options Are Fun)
Once you nail the base, try:
- Lavender Earl Grey (add ½ tsp culinary lavender)
- Earl Grey & honey (swap half the sugar for honey)
- Earl Grey & white chocolate (fold in melted white chocolate)
FYI, the honey version disappears fast 🙂
Serving Ideas That Feel Extra (Without Extra Work)
- Top with whipped cream and lemon zest
- Add crushed tea cookies
- Serve with fresh berries
- Dust lightly with powdered sugar
Minimal effort. Maximum effect.
Ingredients
Method
- Warm cream, steep tea 15 minutes, cool.
- Mix crust ingredients and chill.
- Bloom gelatin in water.
- Beat cream cheese smooth.
- Add sugar, vanilla, lemon, infused cream.
- Mix in gelatin.
- Pour over crust and chill 6 hours.
Notes
- Use quality Earl Grey tea
- Chill overnight for best texture
- Don’t skip gelatin
- Slice with a warm knife